Back in 2018, Google started with AMP Stories. In May 2020, AMP stories became Web Stories and in October 2020 Google’s Web Stories was on WordPress. There are many storytelling mediums like Instagram stories, Facebook stories, and Snapchat stories that have gained a lot of popularity. Storytelling is fun and one of the most engaging visual content formats. So you must be wondering how I add a Google Web Story to WordPress. In this post, we will answer this question in an easy step-by-step guide and ensure that you create beautiful and engaging stories for your blog.
What are Web Stories?
As per Google
“Web Stories are a visually rich, full-screen content format for the web, which allow you to tap or swipe through stories. To consume content, you can tap or swipe through Web Stories.”
Web Stories are swipeable short stories or explanations or pointers or presenting something, often in a slideshow format, especially made for mobile devices. Unlike Facebook and Instagram, you post these stories on your own website. In other words, you own these stories.
Once posted, these stories are shown on the top of Google Search results. Your stories also appear prominently on Google Images, Google Discover, and the Google App.
Web Stories offers the audience fast and easy-to-understand content. Also, with web stories, you have better control over the published content. You can decide how long that can be, how long it lives, and where you publish it. And not only do you get mobile viewership, but you also get the desktop audience.
How do I add a Google Web story to WordPress?
Here we will first assume that you already own a WordPress website and understand basic functionalities like Plugins, navigation, posts, etc. So, here is a complete tutorial to show you how to create and publish stories on your WordPress website.
Steps to create Google Web Stories using WordPress Plugin
- Install and activate the Web stories plugin
- Understand the Web Stories Interface
- Create your First Web Story
- Add a background
- Add and style text
- Add shapes and stickers
- Add links
- Add Audio to your Web Stories
- Add a new page to your web store
- Fill the Metadata
- Publish
- How and where web stories are used on WordPress?
Install and activate the Web stories plugin
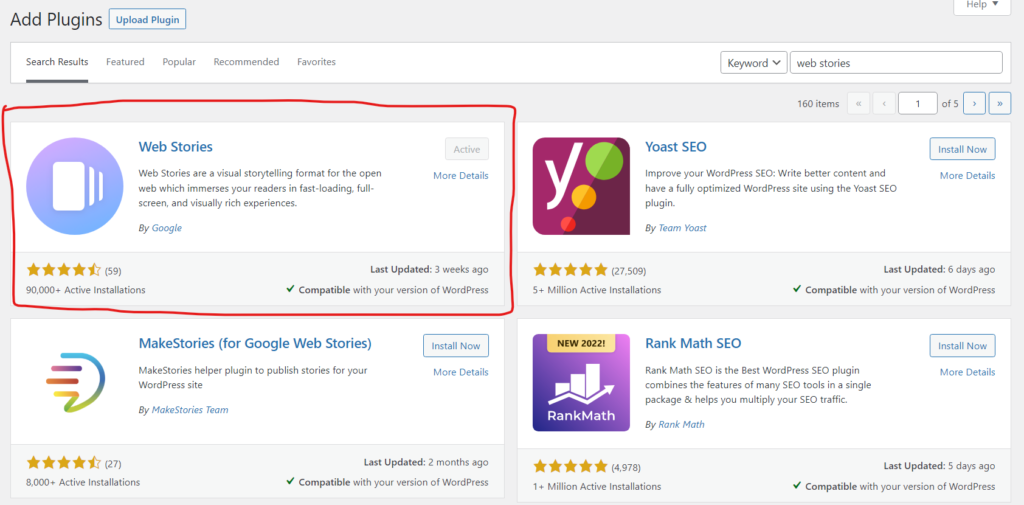
- Login to your WordPress, hover on plugins and click on ‘Add New from the dropdown.
- Search for Web Stories. Most probably the first result is the right tool. To make a sure check if it is published by Google.
- Click on Install Now. Once installed, click activate.
Understand Web Stories Interface
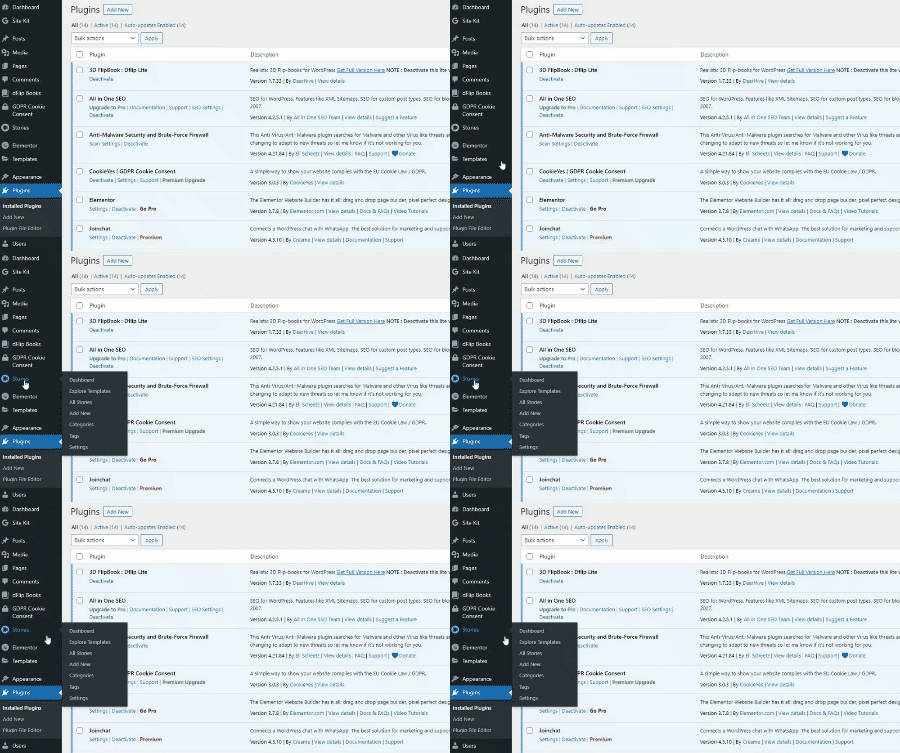
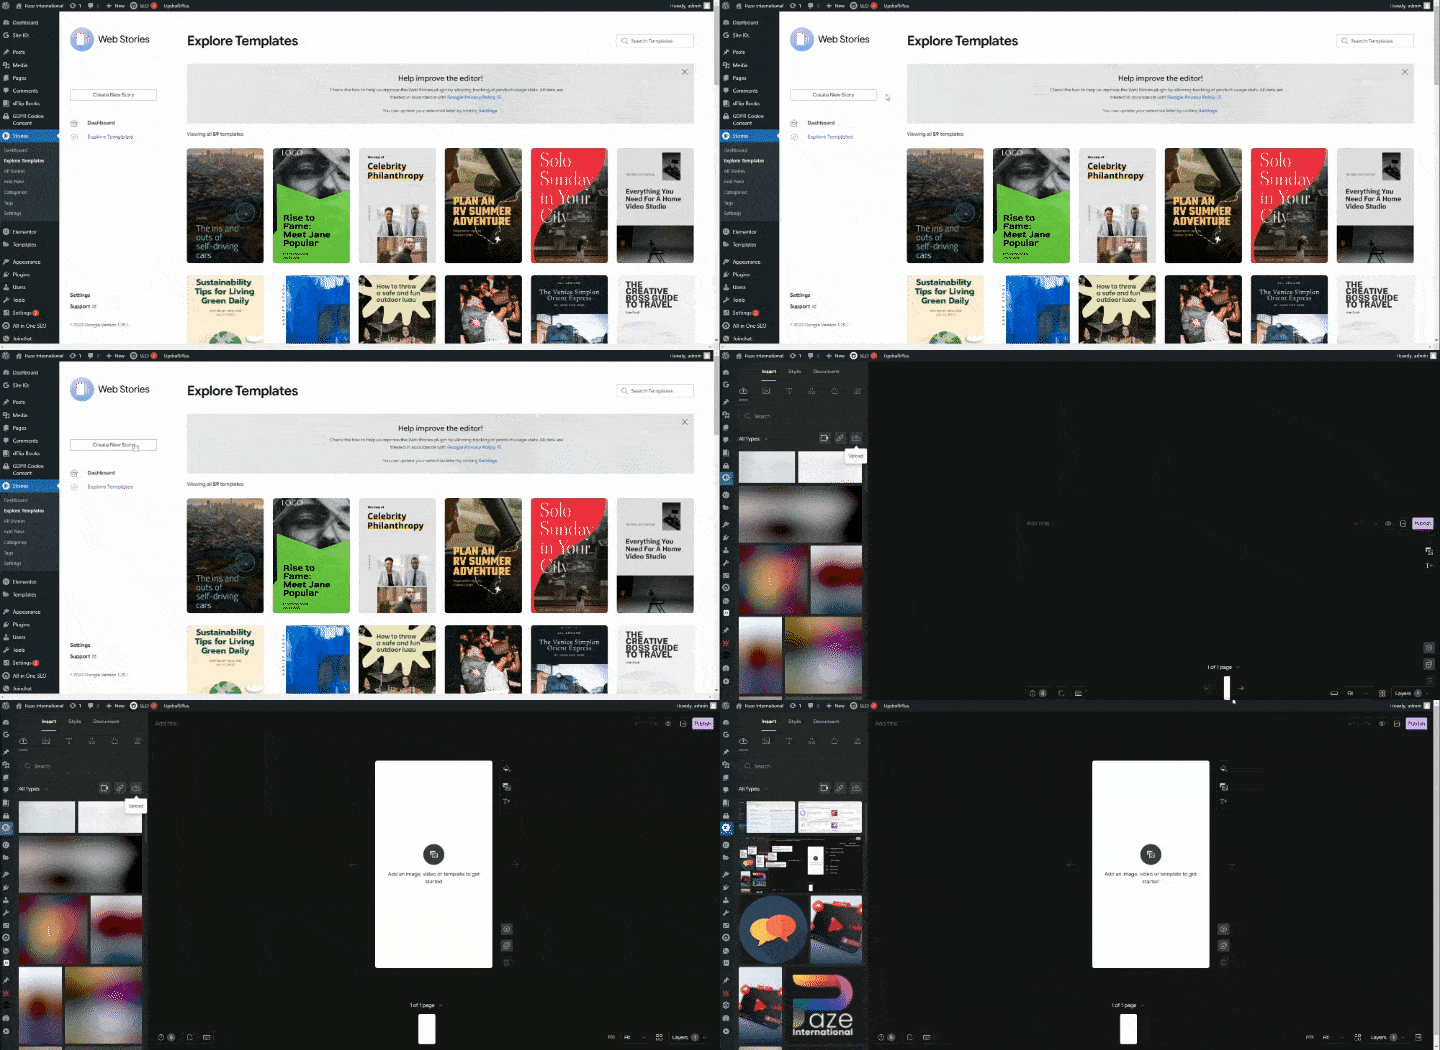
Once activated, hover on stories from the left pan then click on Dashboard. Since you haven’t created any stories yet, this may show you the iconic Google desert and Cactuses. You can explore various templates or else just create a new story by clicking on the ‘Create New Story’ button. You will land on Google’s Web Stories Interface with a blank template.
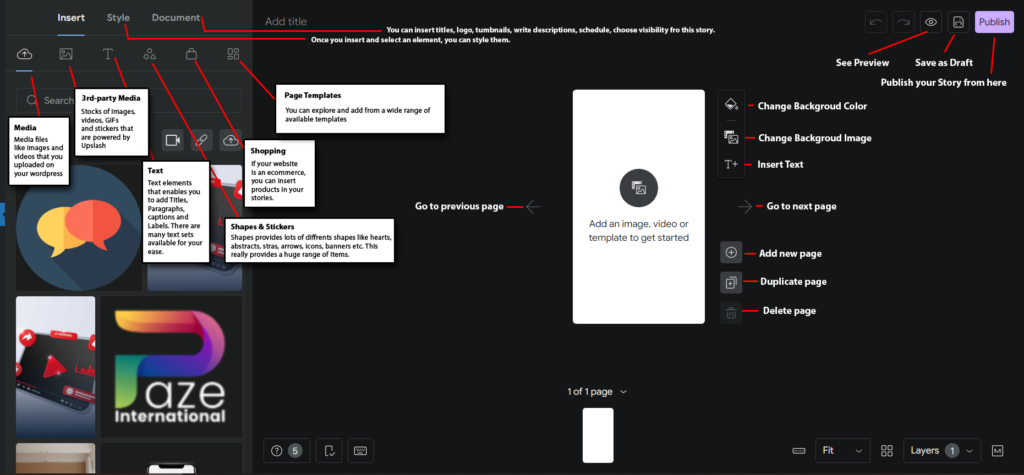
The below image explains the interface.
Create your first web story
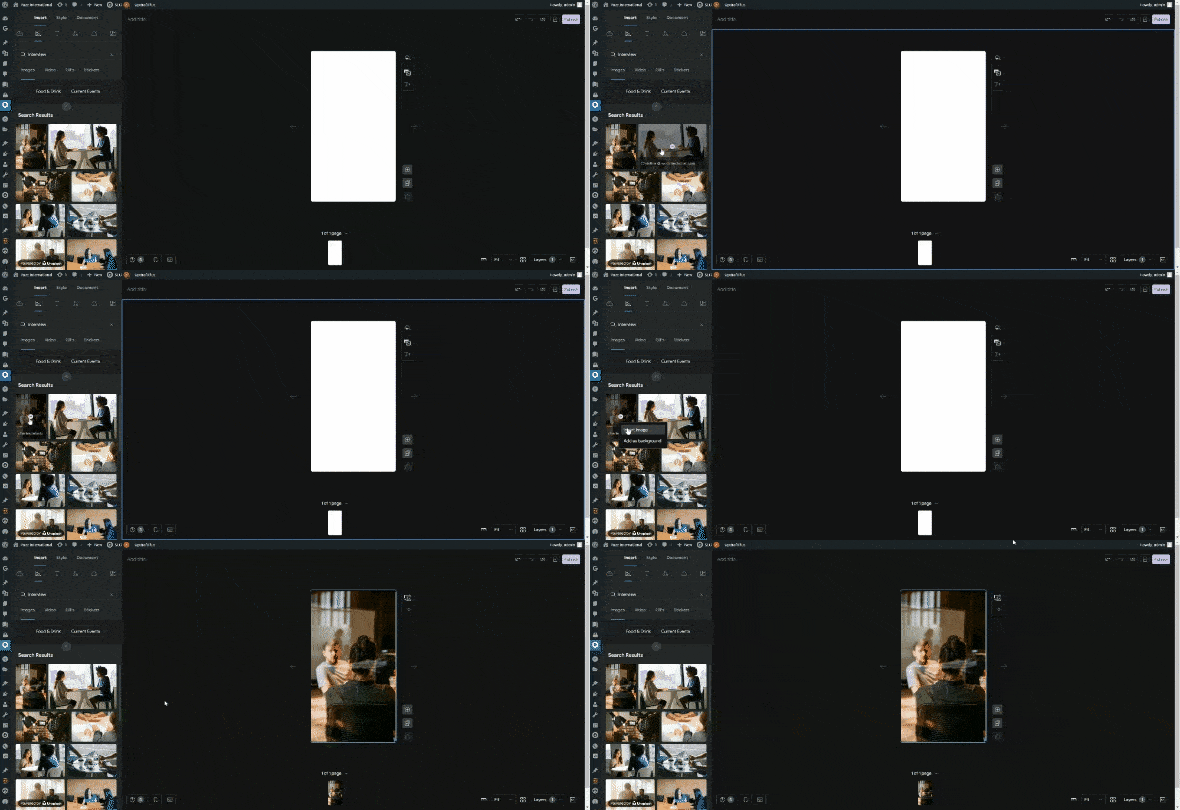
- Add a background – You can either solid colors, an image, a video, a gif or simply keep it blank. These can be arranged in layers too.
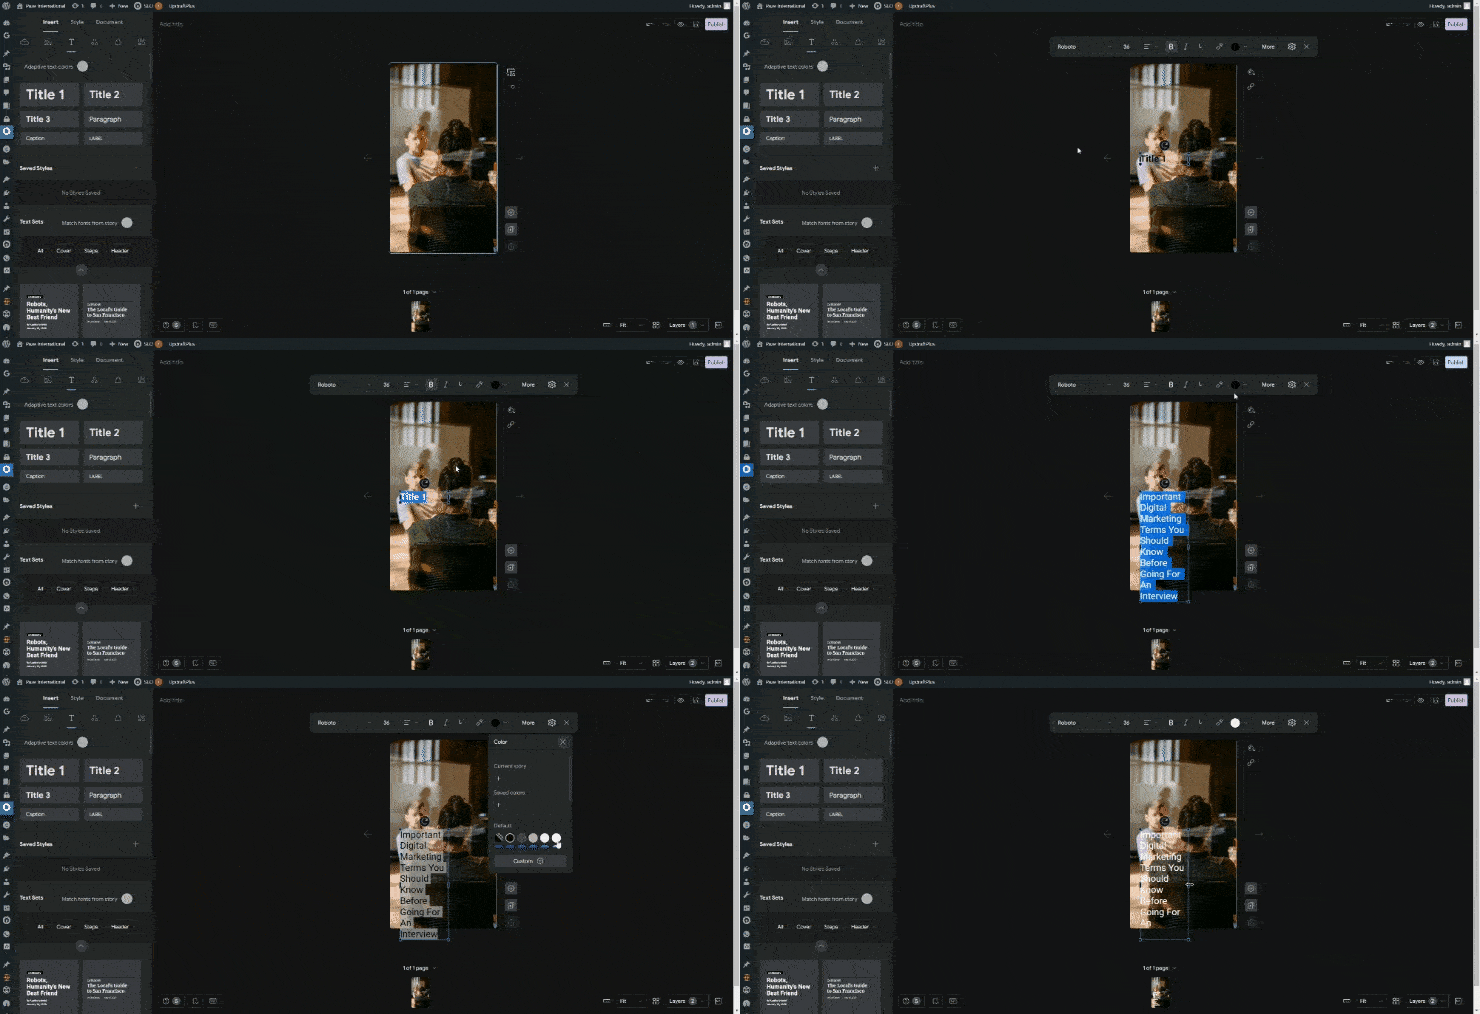
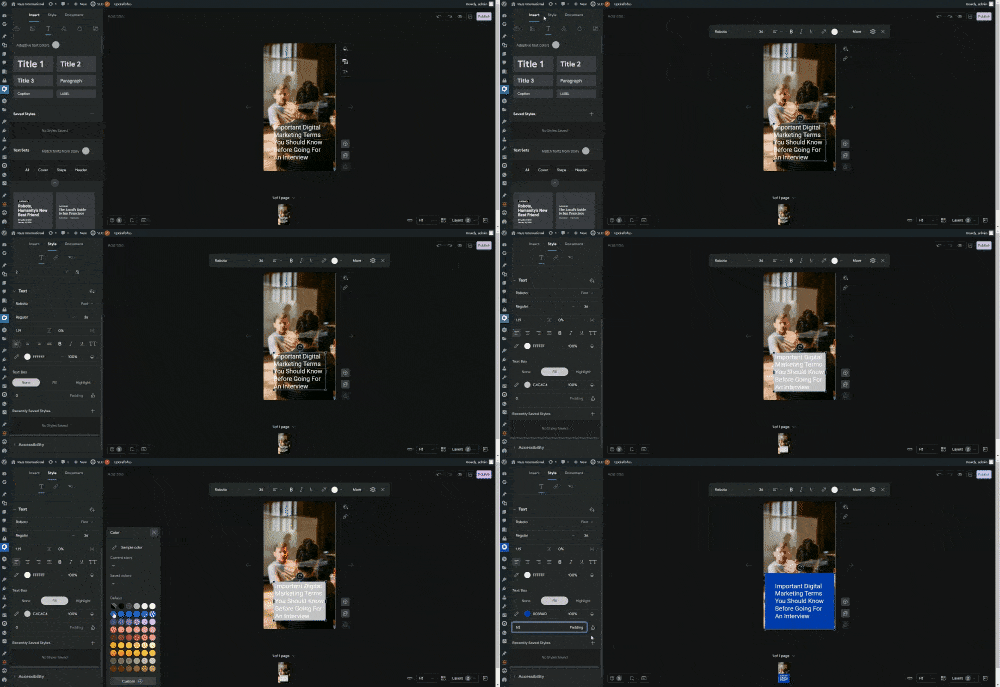
- Add and Style Text – Just click on the text and add titles, paragraphs, captions, or labels. Once you are done with typing the text, you can change font family, size, color, and alignment make it bold, or italic, or add an underline.
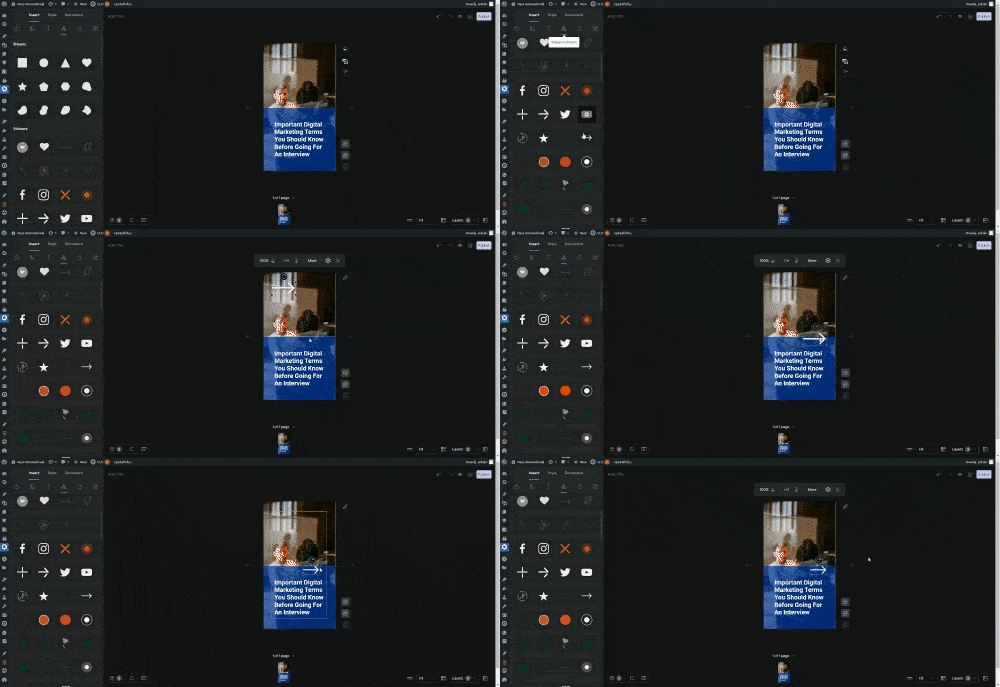
- Add Shapes and Stickers – Shapes and stickers make your story look beautiful and more engaging. They also help you display the right emotion, and call to action and even enhance the readability of texts.
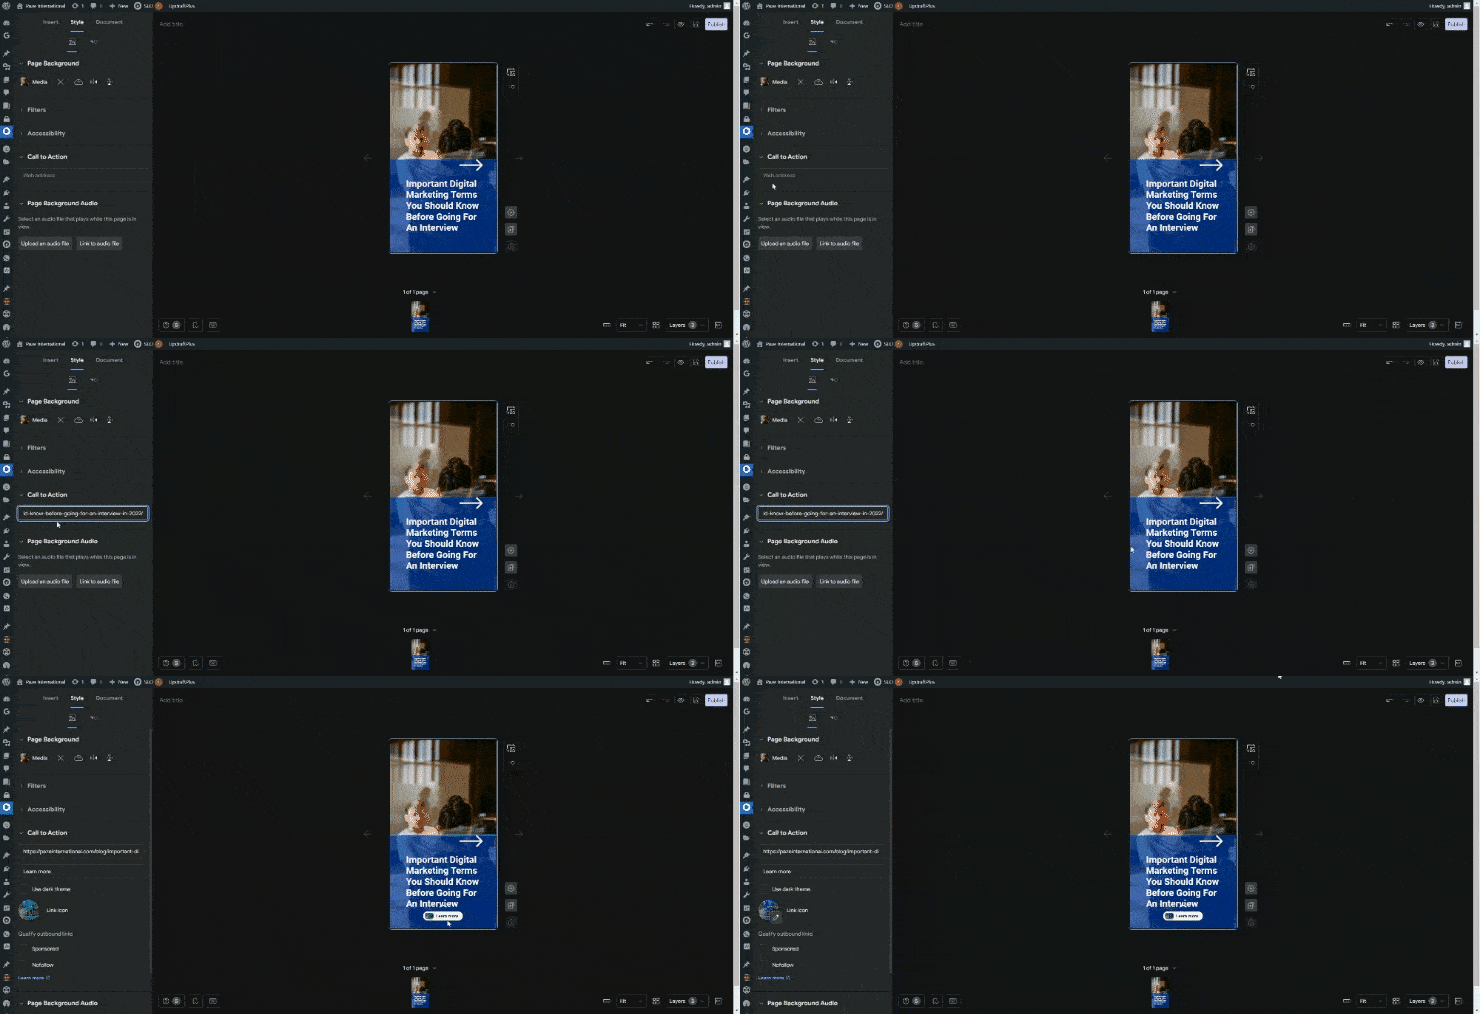
- Add Links – Unlike other platforms where adding a link to your story are with terms, Web stories allow you to add links to elements. You can either add links to texts or shapes else you can add padding to text boxes and convert them to buttons and then can add links. Thus you can add a call-to-action button in your story and drive traffic to your content. You can also add Swipe-up call to action by selecting background and then going to style. Just insert your link in web address field and you will get a cool CTA
- Add Audio to your web stories – You can add background audio to your story. Simply go to ‘Document’ and scroll down to find ‘Background Audio’. You can either upload audio or simply link to an audio file. Make sure you have all the necessary copyrights to use the audio.
Add a New page to your Web Story
Web Stories are recommended to be between 4 to 30 slides. So a story needs to be in slides telly a story through multiple visual fullscreen displays.
To add a new page, click on ‘Add New page’ just beside your storyboard. You can also duplicate your page to keep the basic design intact.
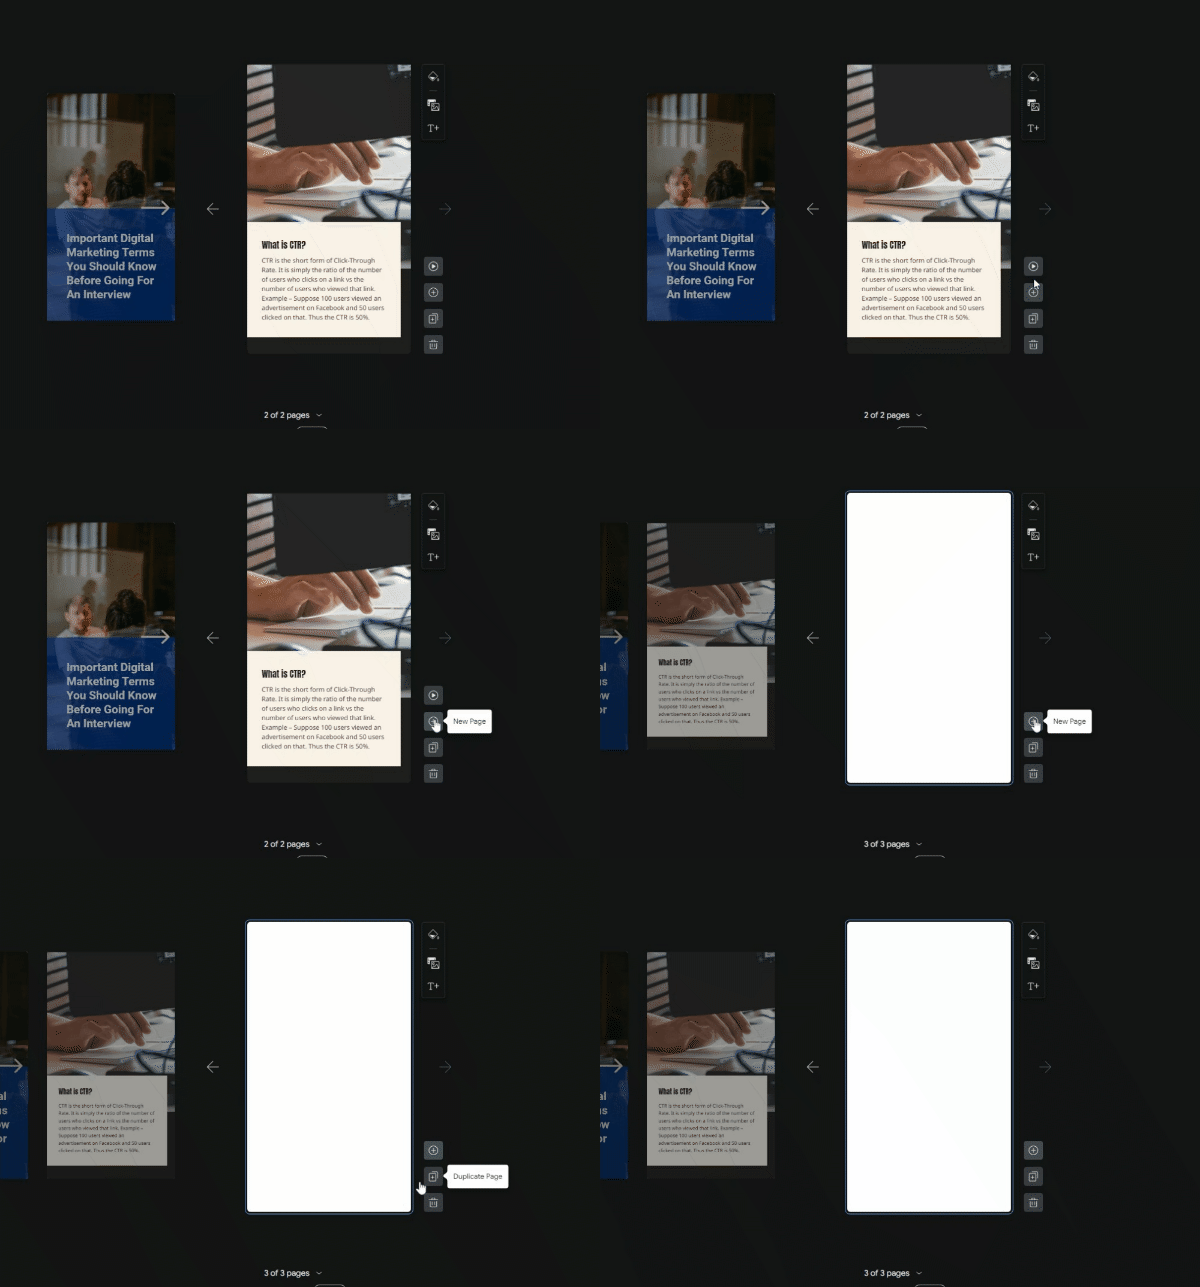
Once you have multiple pages, you can also add animation in elements. To do so, just select any text, background, or shapes and add animation from the left panel.
Fill in the Meta Data
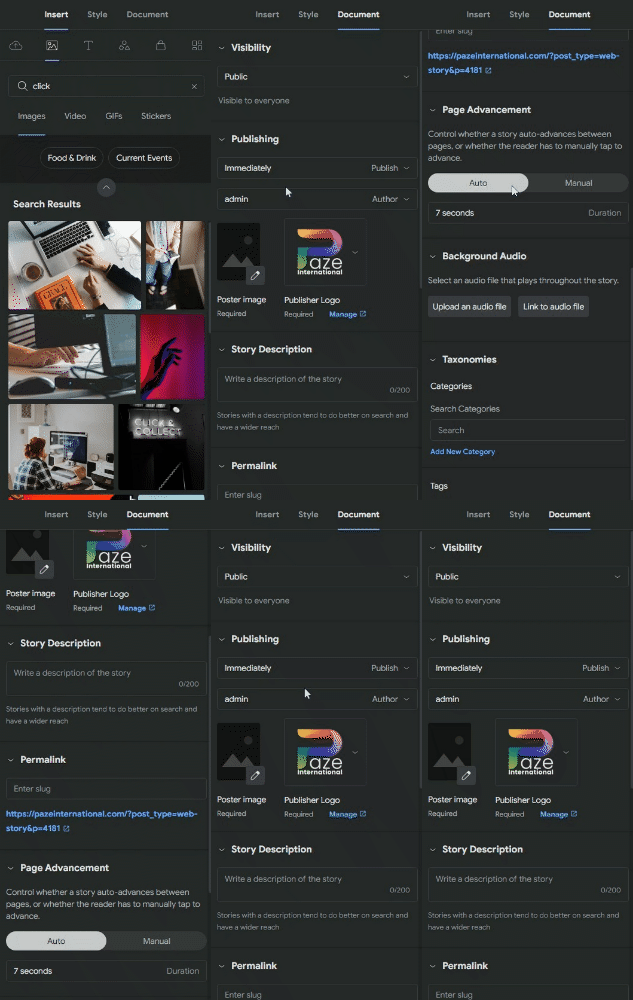
You need to fill in the metadata before you publish the video. Go to document where you can fill change the visibility to Public, Private, or Password Protected. You can also schedule the publishing of web stories for a future time or date. Poster images are similar to thumbnails on YouTube and Facebook. These images can convert your impressions to clicks. Your poster image needs to be smartly designed and must look engaging. Note not to add text on the poster image as your title replaces that spot. Publisher logos are required to be added to keep the brand identity.
The story Title can be added from the top-left of the main pan. Try to add keywords and optimize this with ‘Stroy Description’ and ‘Slug’. To further optimize, you can add tags and categories under the ‘Taxonomies’ section.
In Web Stories, you can control whether a story auto-advances between pages, or whether the reader needs to manually change the slide by tapping. You can also change the duration of the story. The maximum duration allowed for a story is 20 seconds.
Publish Web Stories
As covered earlier, you can either schedule or publish the story on your website. To do so, simply click on Publish button on the top right of the panel.
How and where web stories are used on WordPress?
Web Stories can be used in any post just by simply embedding it within a block. Web Stories also have links and can be used on other websites. These can also be used in the widget that appears right on your blog pages. So once you publish, web stories get their space on Google Search result pages.
Conclusion
Web stories make your content more engaging and drive traffic to your website. Your audience now not only reads your content but can also watch and listen to it. The best part is that you can monetize them with Adsense as well as affiliate links.
Overall, your web stories provide freedom and don’t bind you with limitations. You can now convert your blogs into beautiful storytelling articles. Since this is new and Google is working hard to promote it, your stories are recognized by Google and you have a fair chance to appear in search results and recommendations.
Watch this article as web story – Click Here


Pingback: 5 Professional sales email templates that work out well - Paze International
Comments are closed.